

One washi three ways

Today I have three different ways to use the timed washi tape included in the Paperie Planner Add On kit this February. Obviously I'm using it to plan timed events in my Standard Dori, but the way and the reason behind each is quite different.

https://youtu.be/m4TMtf2qyMw

I've done this before in my Standard Dori, turned the orientation vertically, but I've not done it with timed sections before. I placed the Paperie “Time” Washi on the left hand side and had Friday through Sunday as a header on the top of the page. By turning the Dori vertically, I can gain a few more hours in my day and have those events placed within those time blocks quite easily.

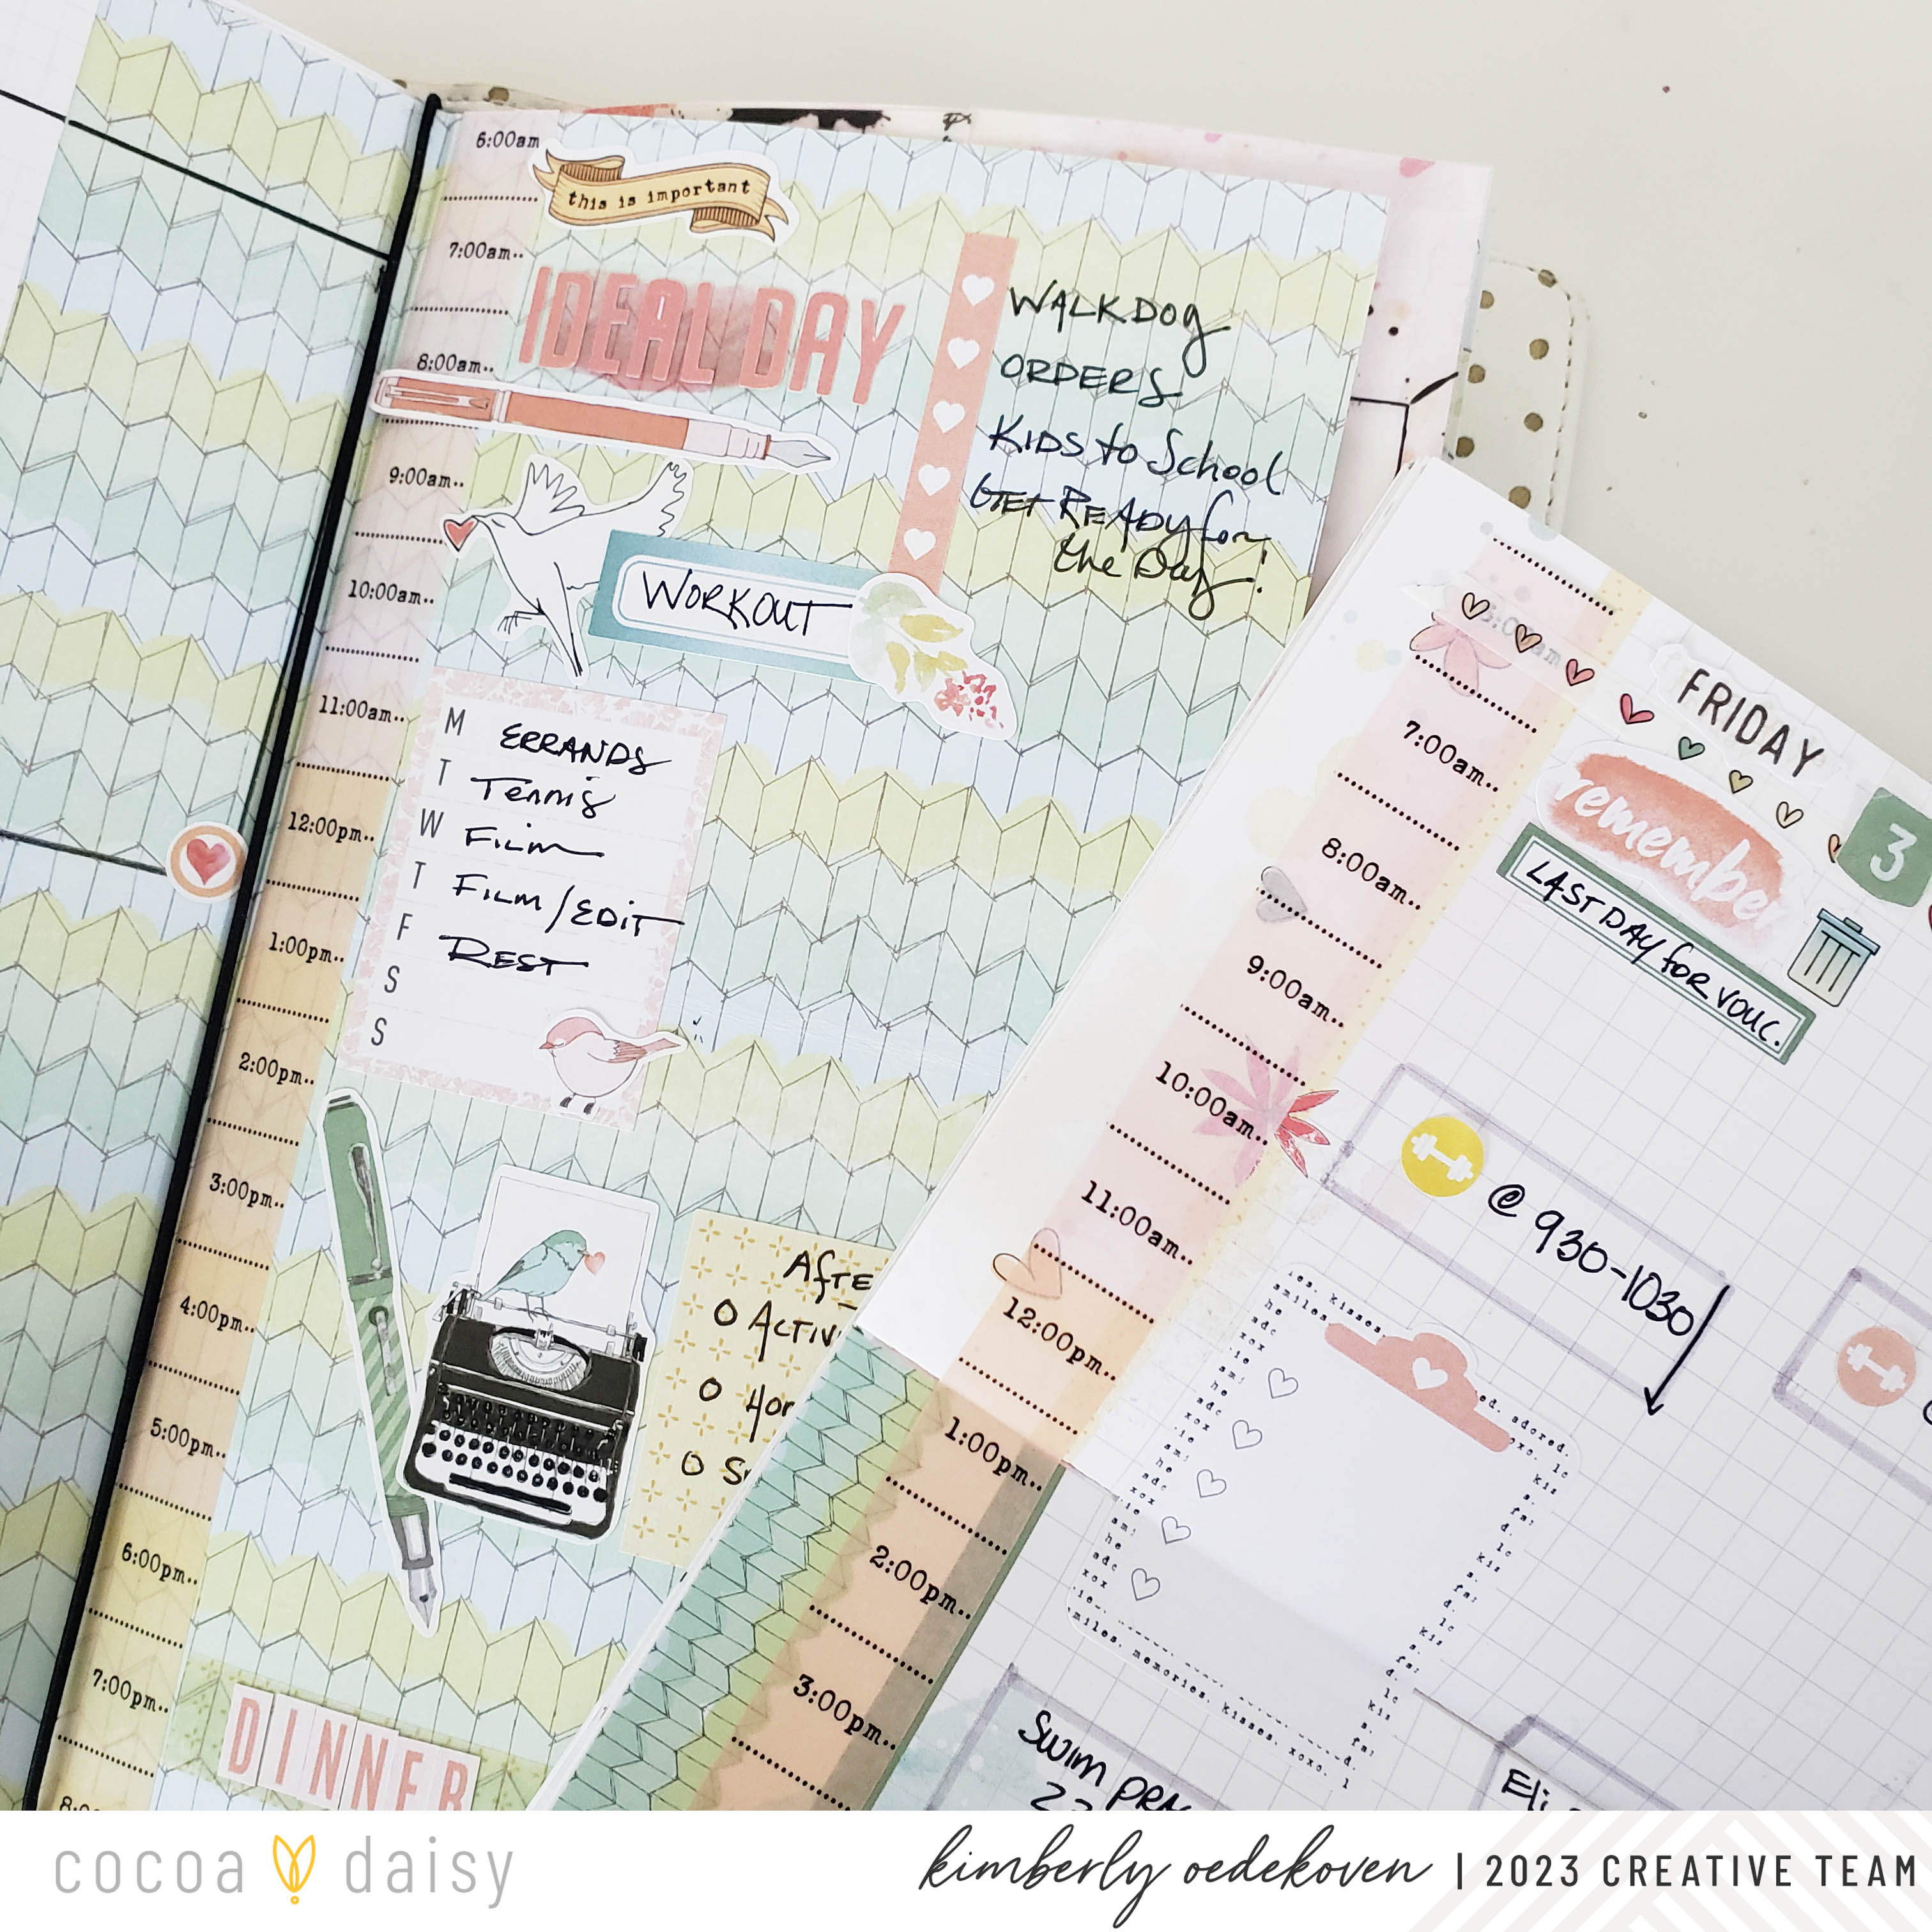
The last way I've devised to use this great asset is to map out my ideal day. On the inside cover I thought it would be great to think about how each day would look in the best case scenario. I used the tape on the left side to map out the hours and used the space to the right of it the write down specific tasks. The M-F sticker from the Paperie Classic Sticker Kit is perfect because each day in that time slot I have a different occupation.
Enjoy!
xoxoxoox
-Kim