

DIY Sticker Folio
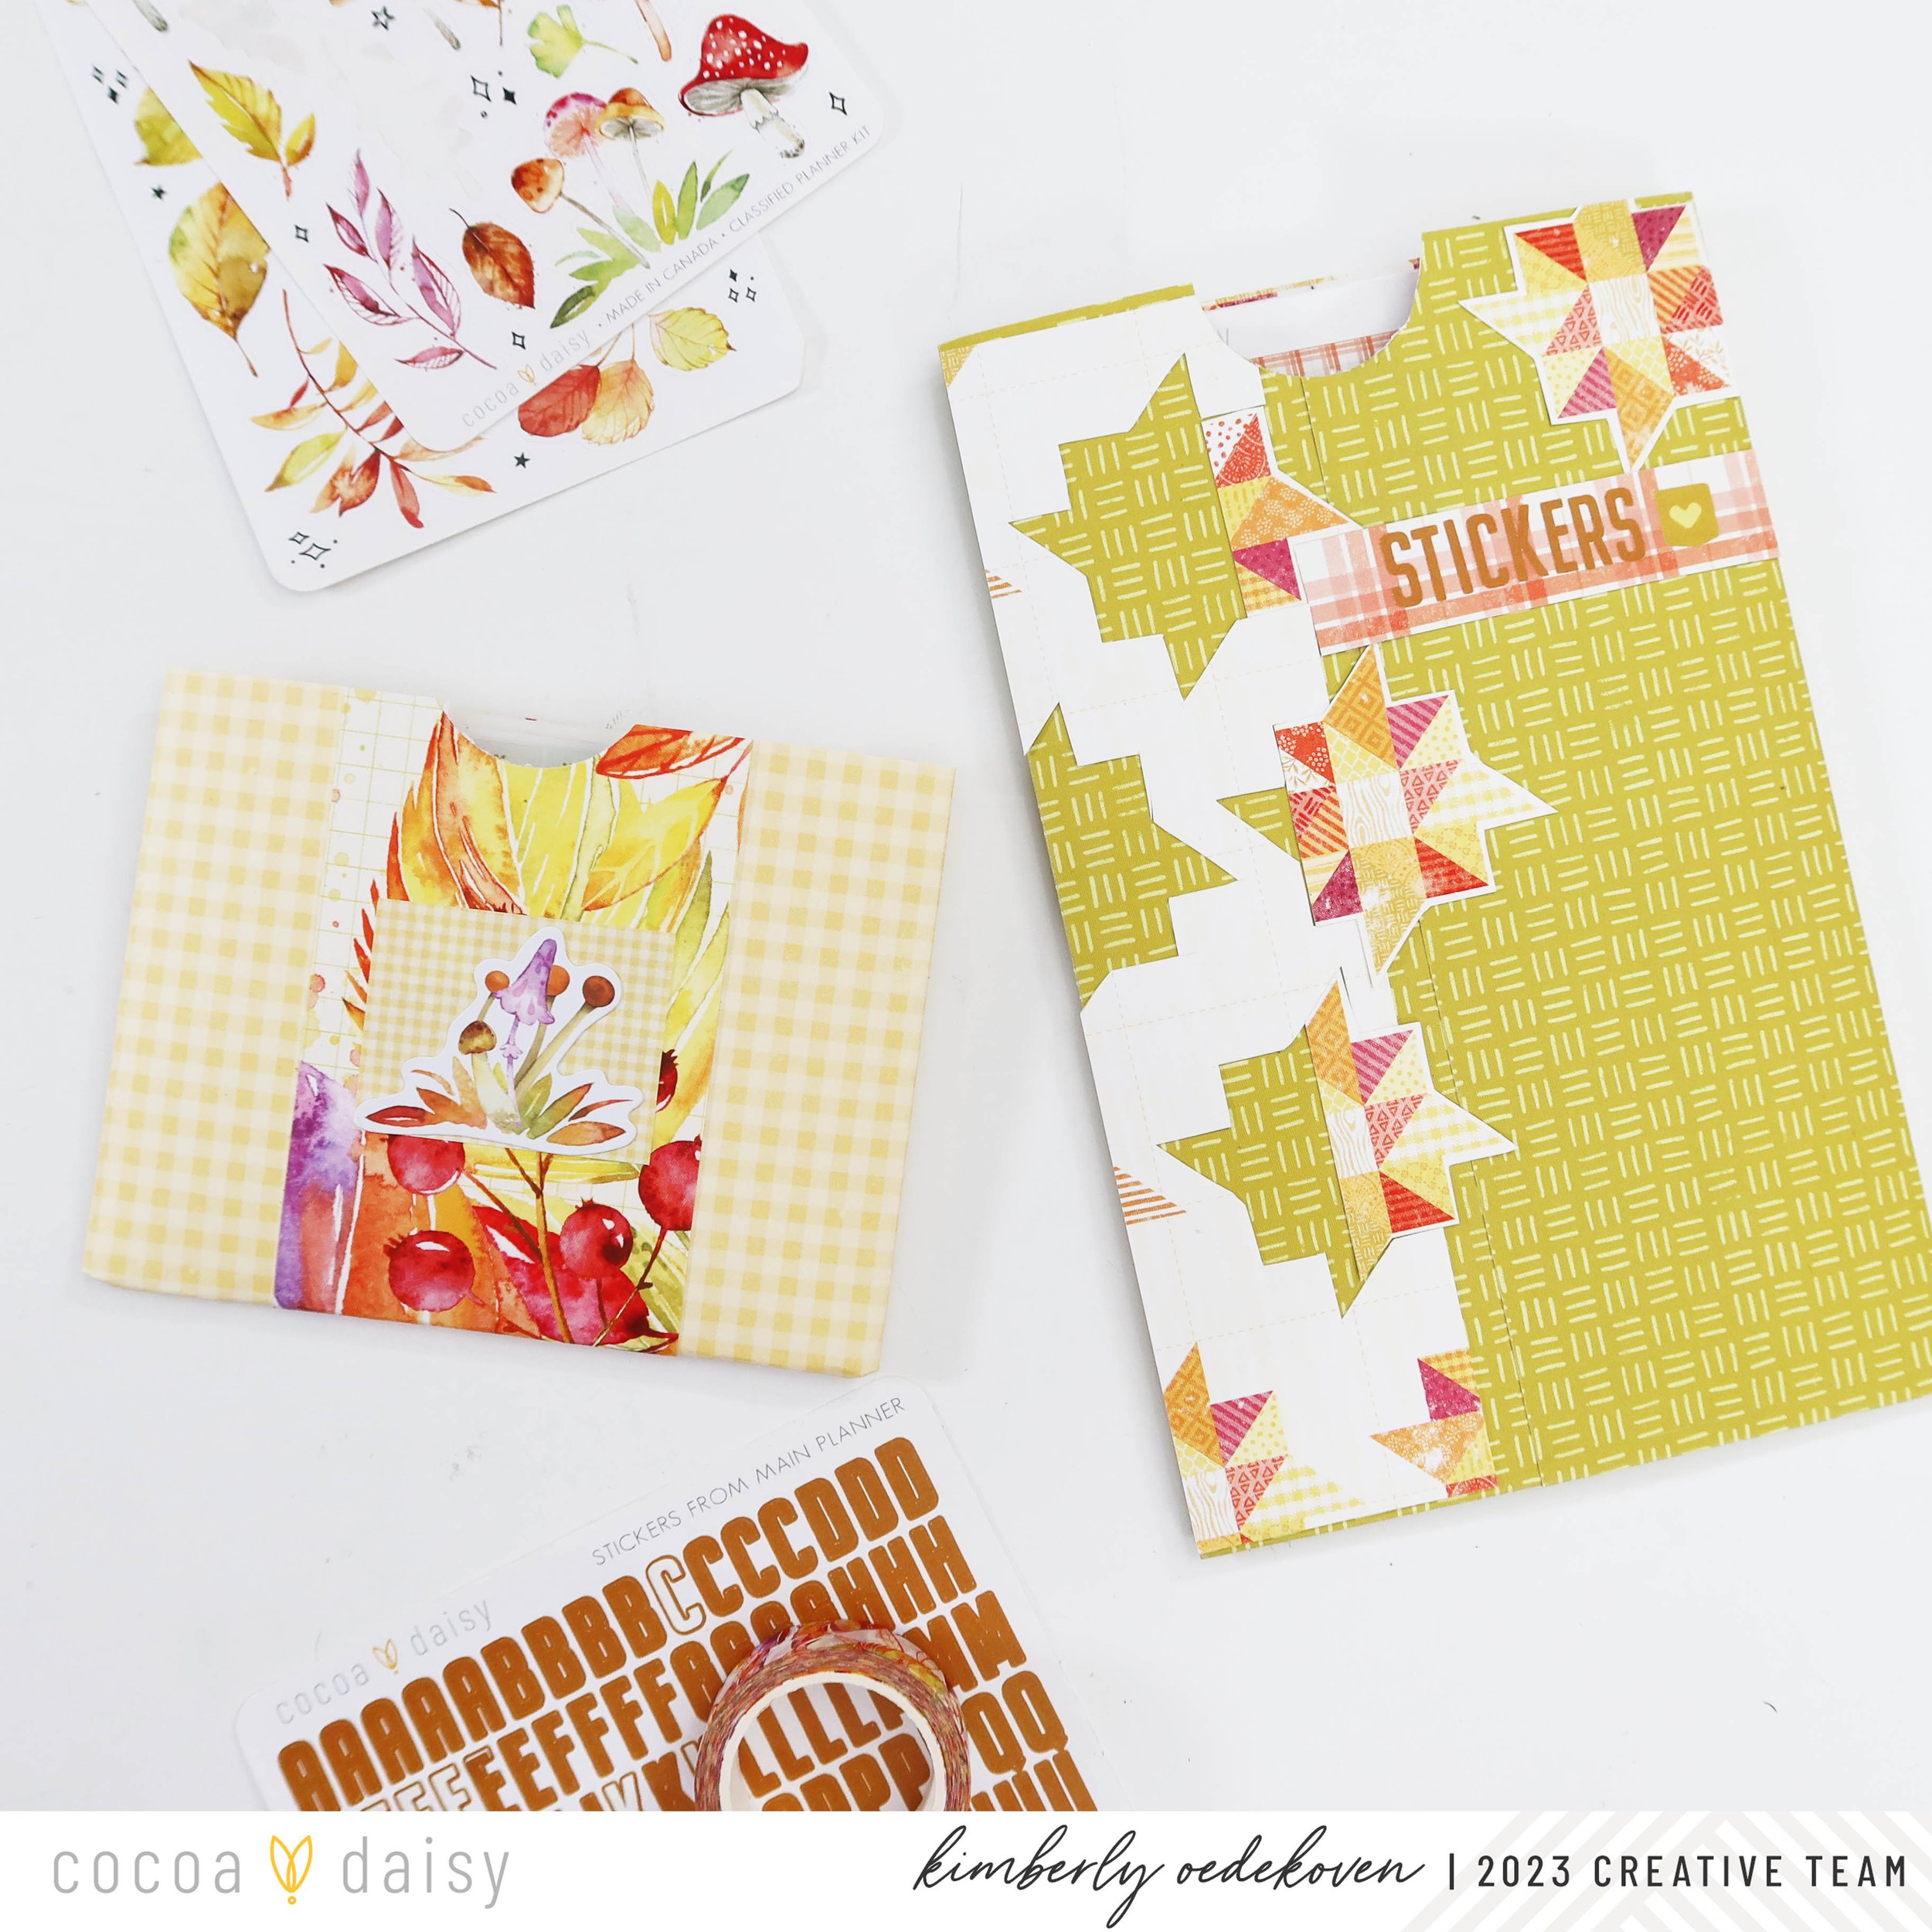
Of all the elements of all the kits, the stickers are the ones I take with me for on the go planning. Its easy to have have all the stickered options available to me when I’m away from the other bulkier kit components. This month, with all the fall feels, I’ve decided to make my own Sticker Folios.

Trim off 2 inches from one short end of a Main Planner Kit Paper. On the long edge fold it up about a 1/2 inch. This is a guide line we will use in a bit. Next, find the middle of the long edge and fold each end toward itself at 2 5/8 inches on either side of that middle mark. Glue the overlapping edges. Do reduce bulk, clip the outside corners where we folded the 1/2 inch edge and also trim along the guide line on one of the two layers. Then fold up the remaining bottom edge and glue.
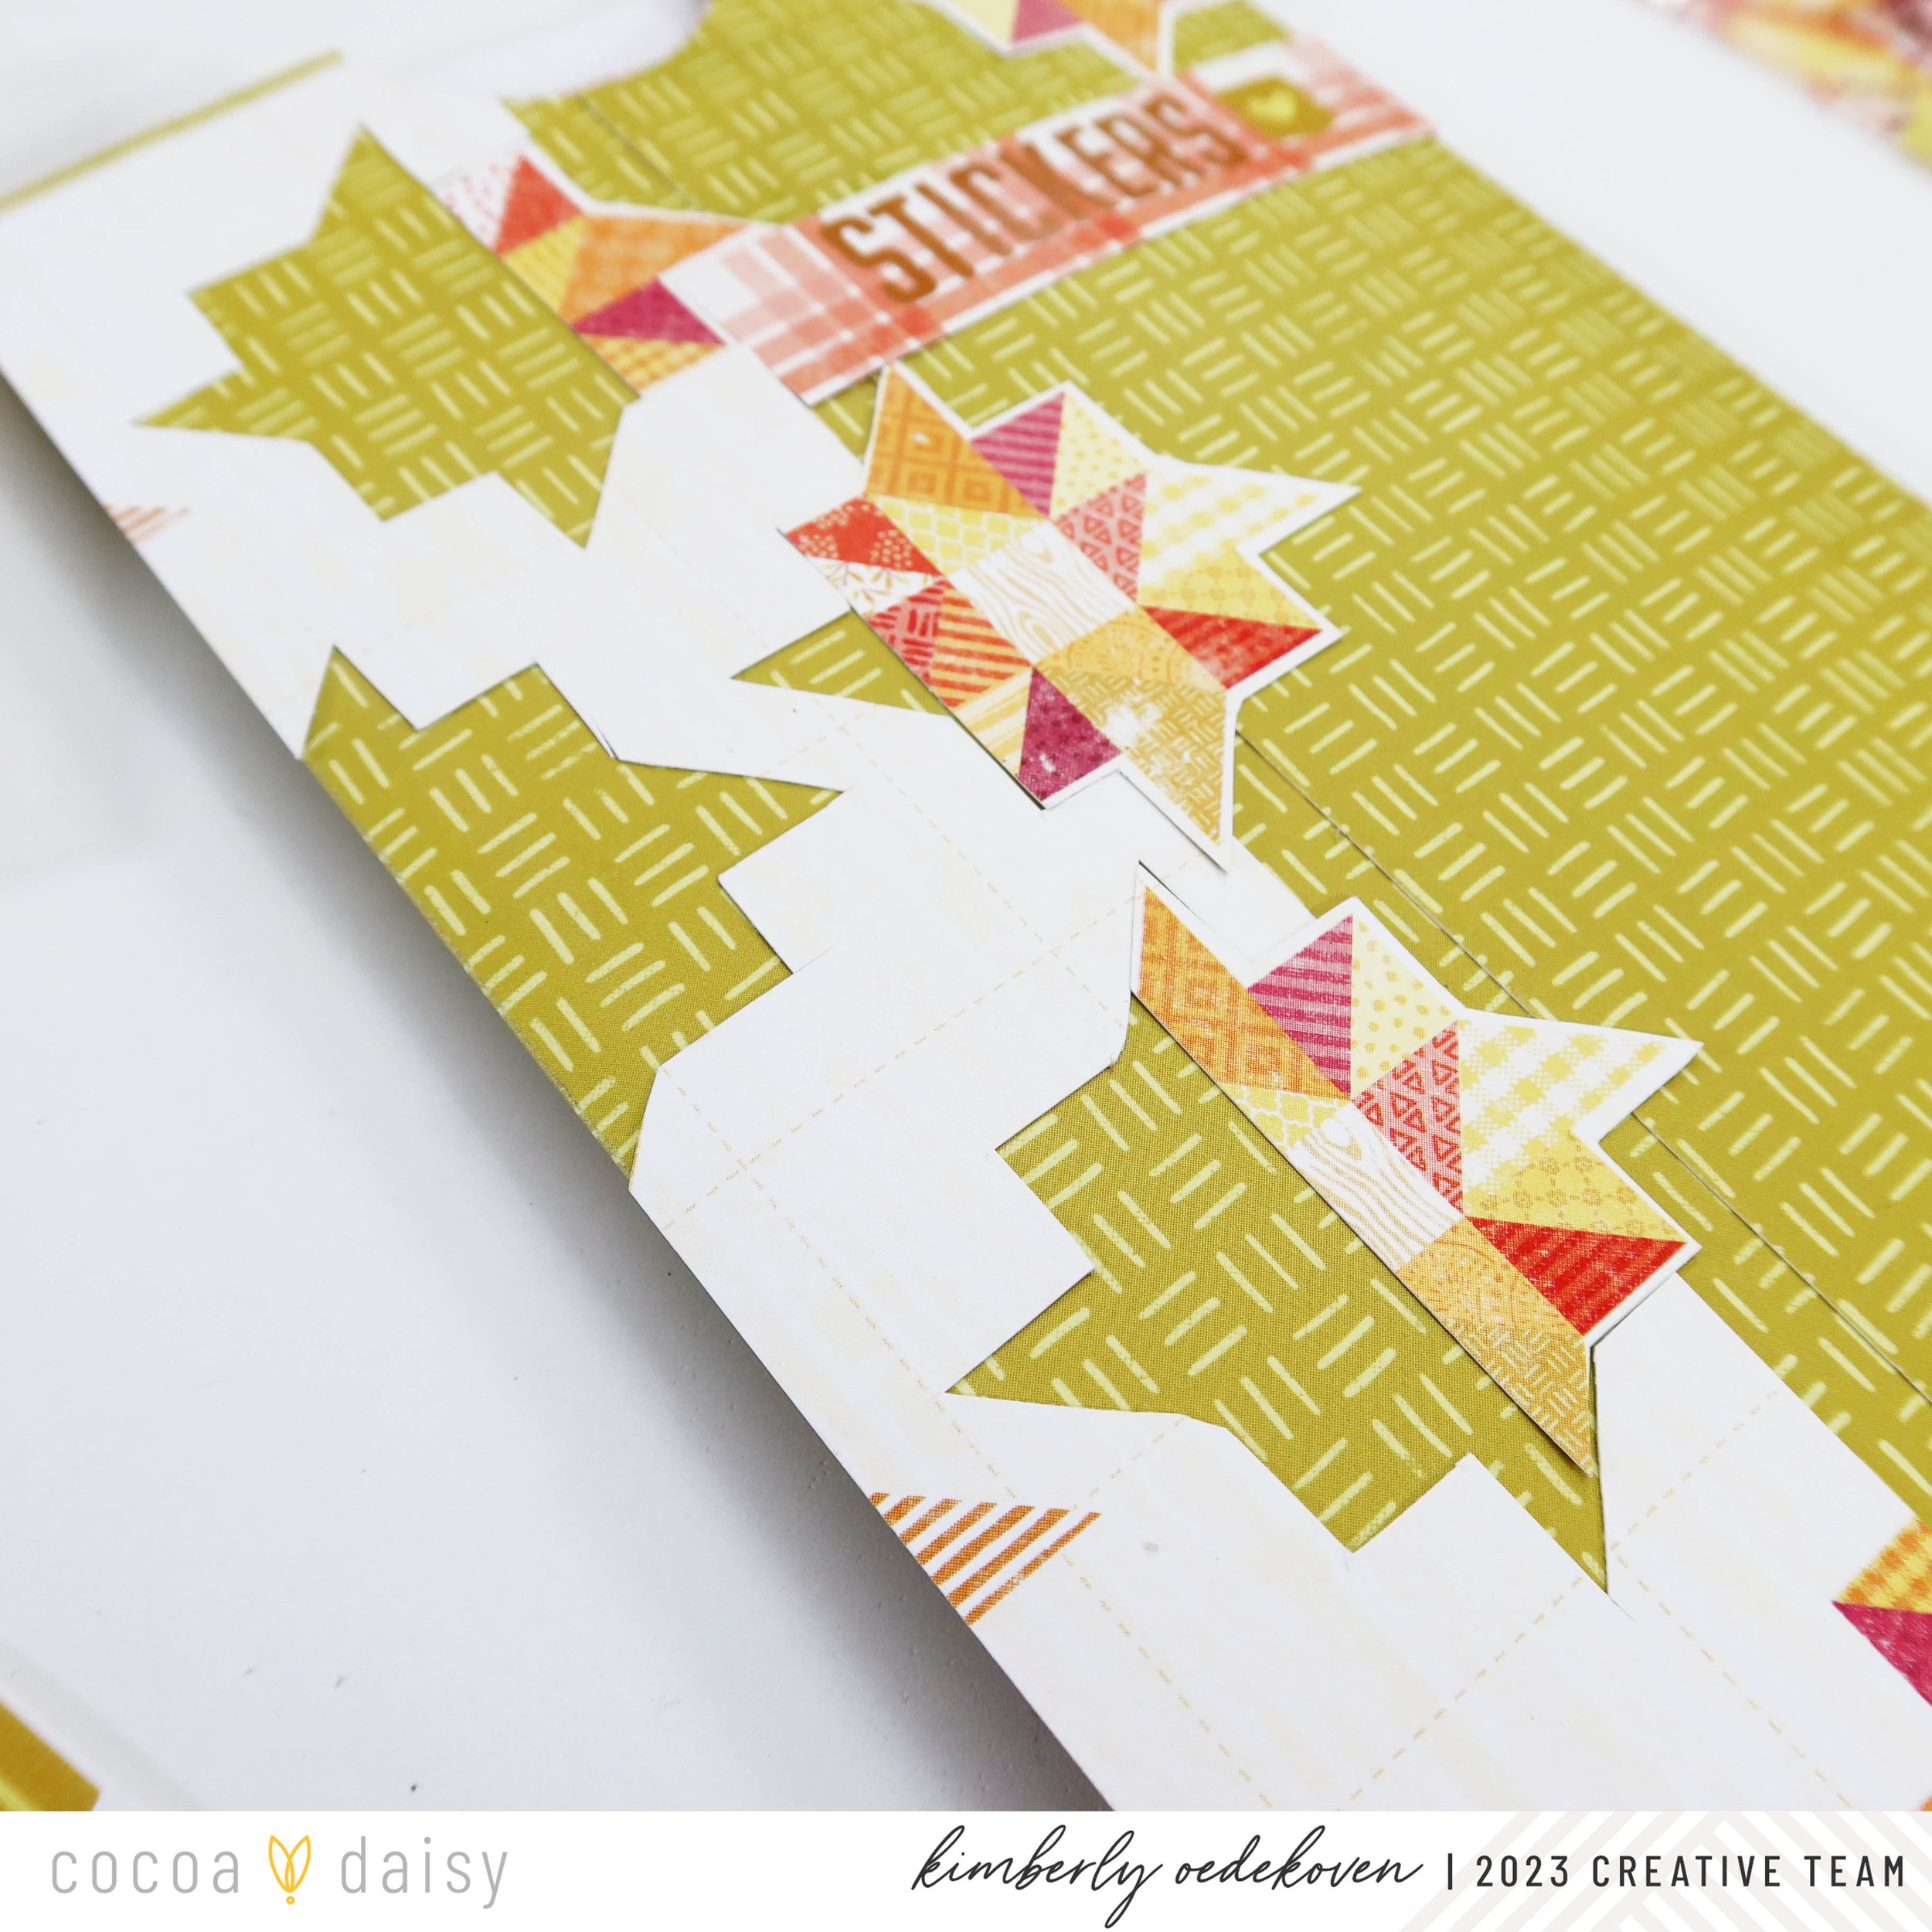
To decorate, I used the 2 inch scrap that I snipped off earlier and cut out the quilt blocks. I glued the negative strip down along the edge and partially added the quilt blocks back into some of those negative spaces.
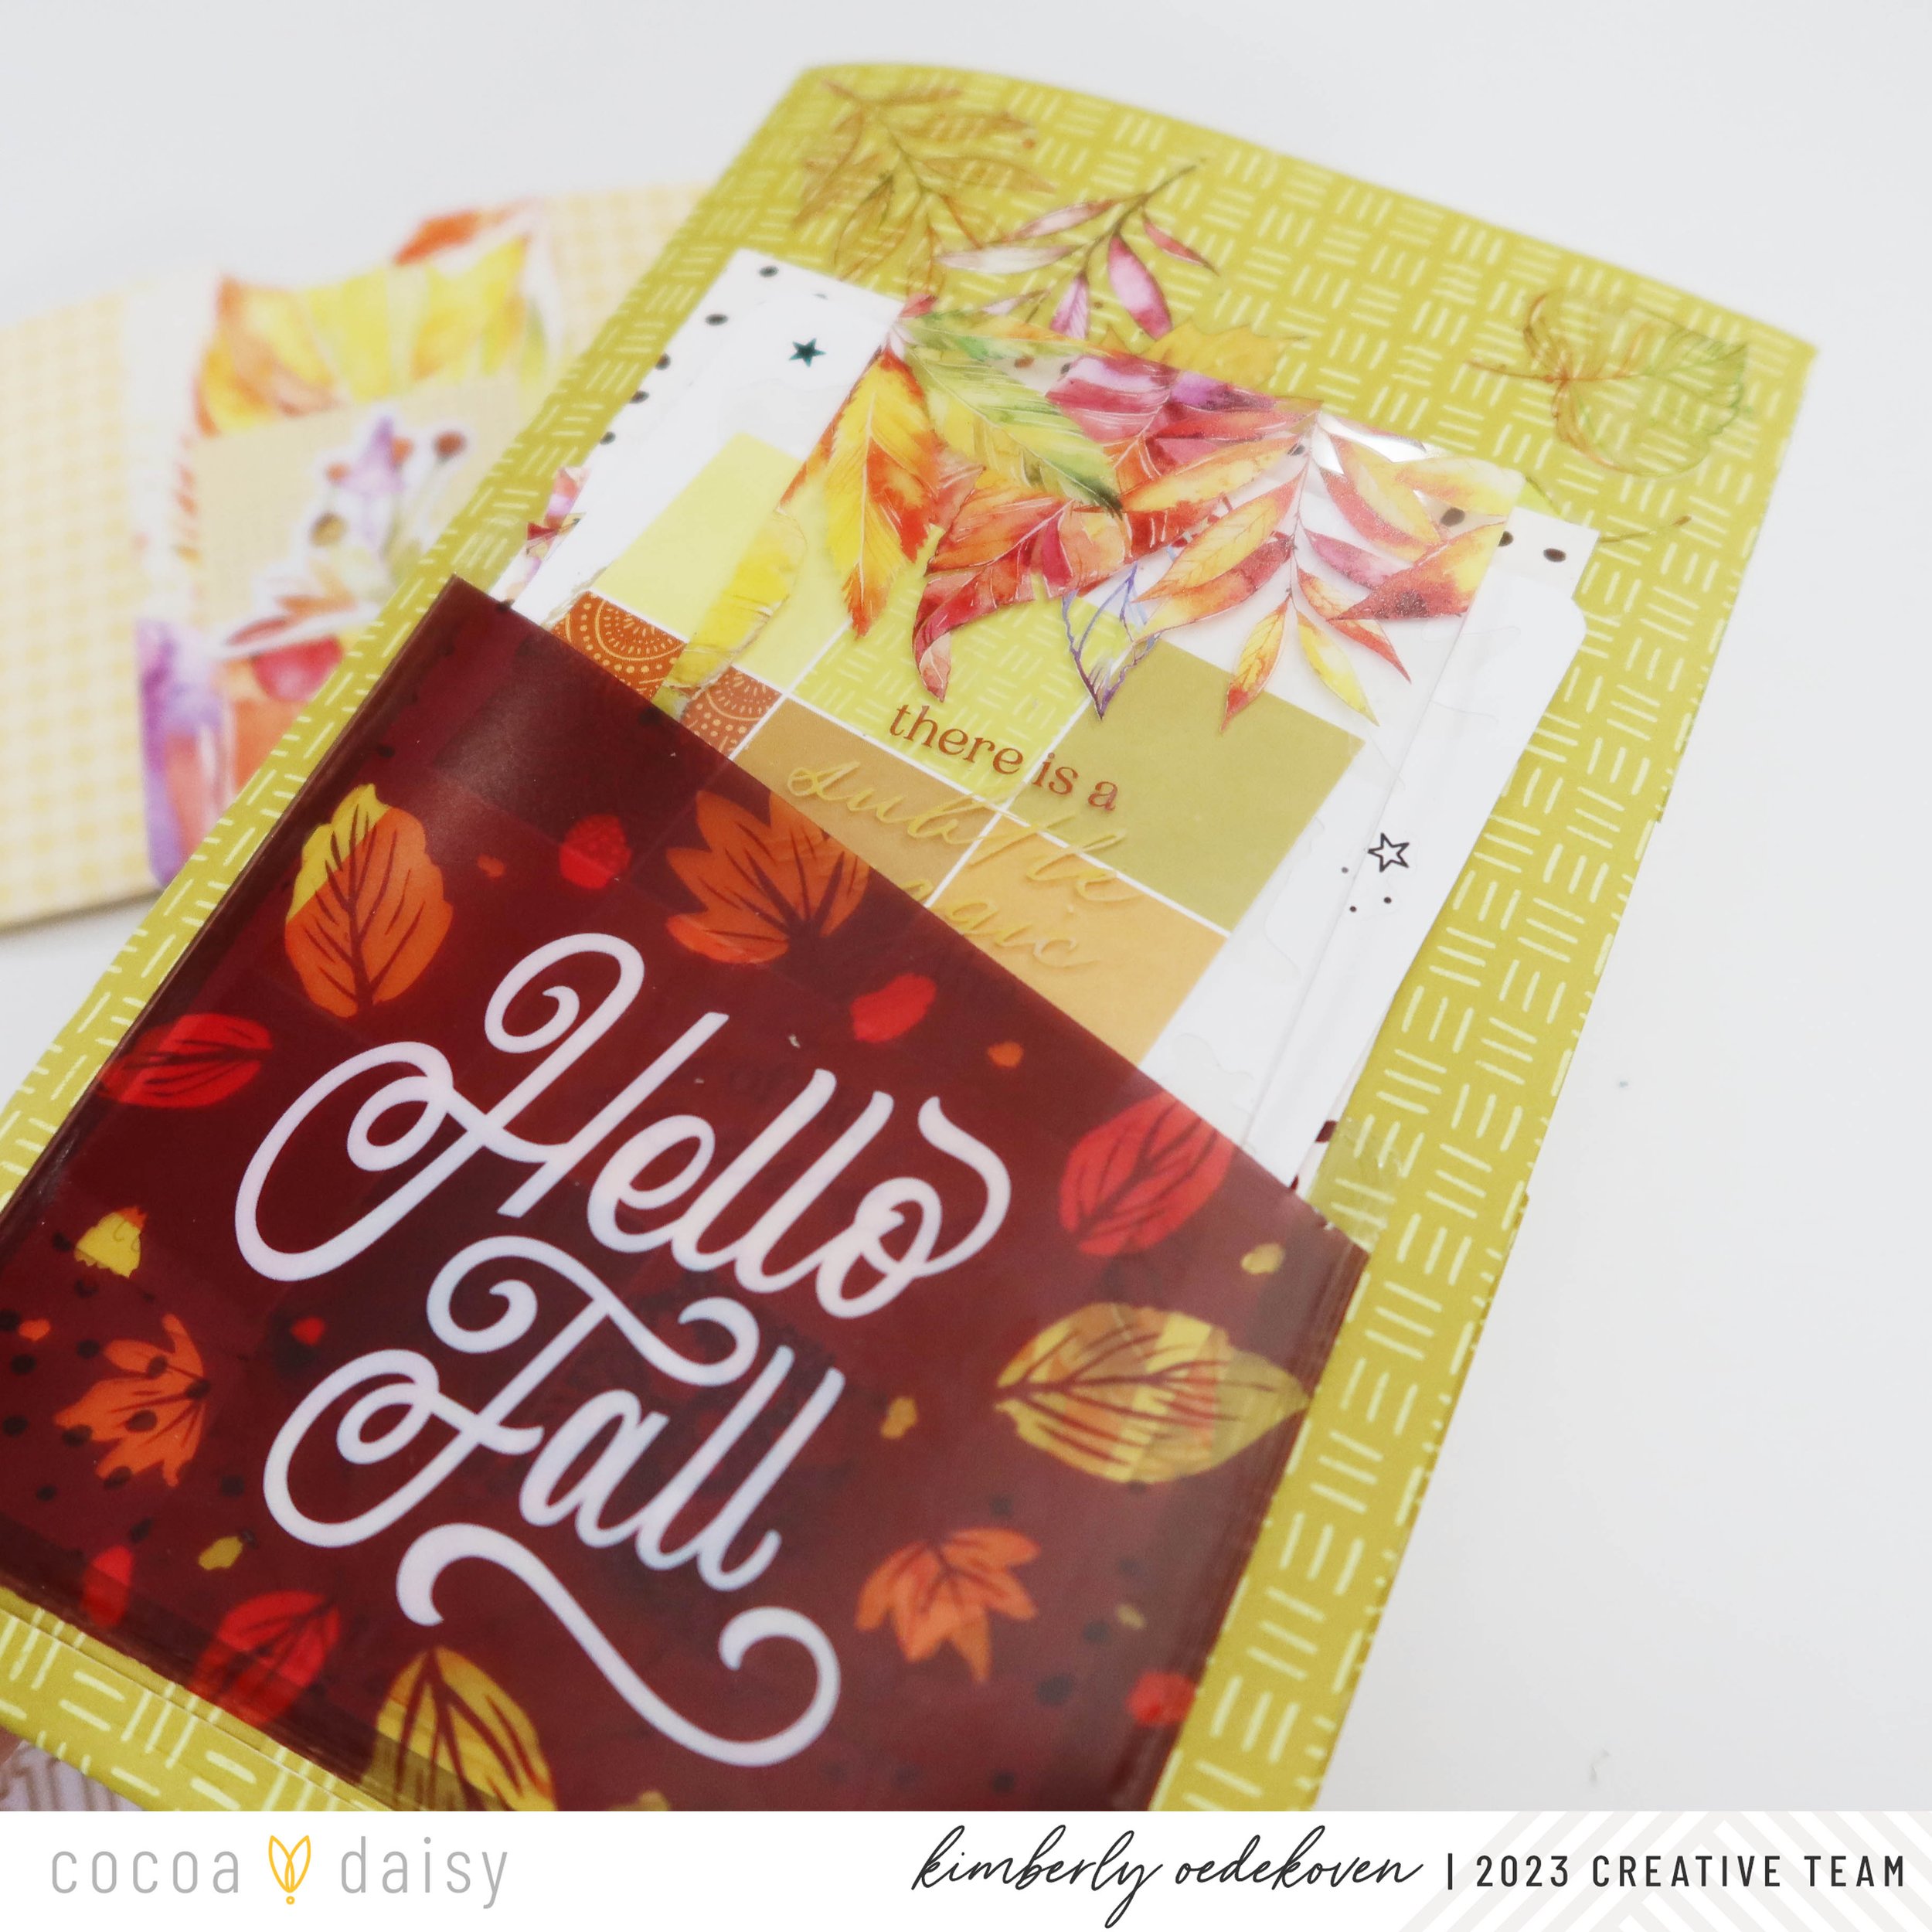
The classified planner kit had some lovely adhesive pockets which I added to the large and the half size sticker folio I made. It is a great place to store the journal cards and the bookmark from the Main Planner kit too.