

Day to Day

One of the most frequently asked questions in the Cocoa Daisy Fans Facebook Group is how to set up your blank Daisy Notebook or Simple Notebook for Planning. While I wish I could answer each one with a definitive answer, I think it all boils down to two things: The page layout and your schedule.
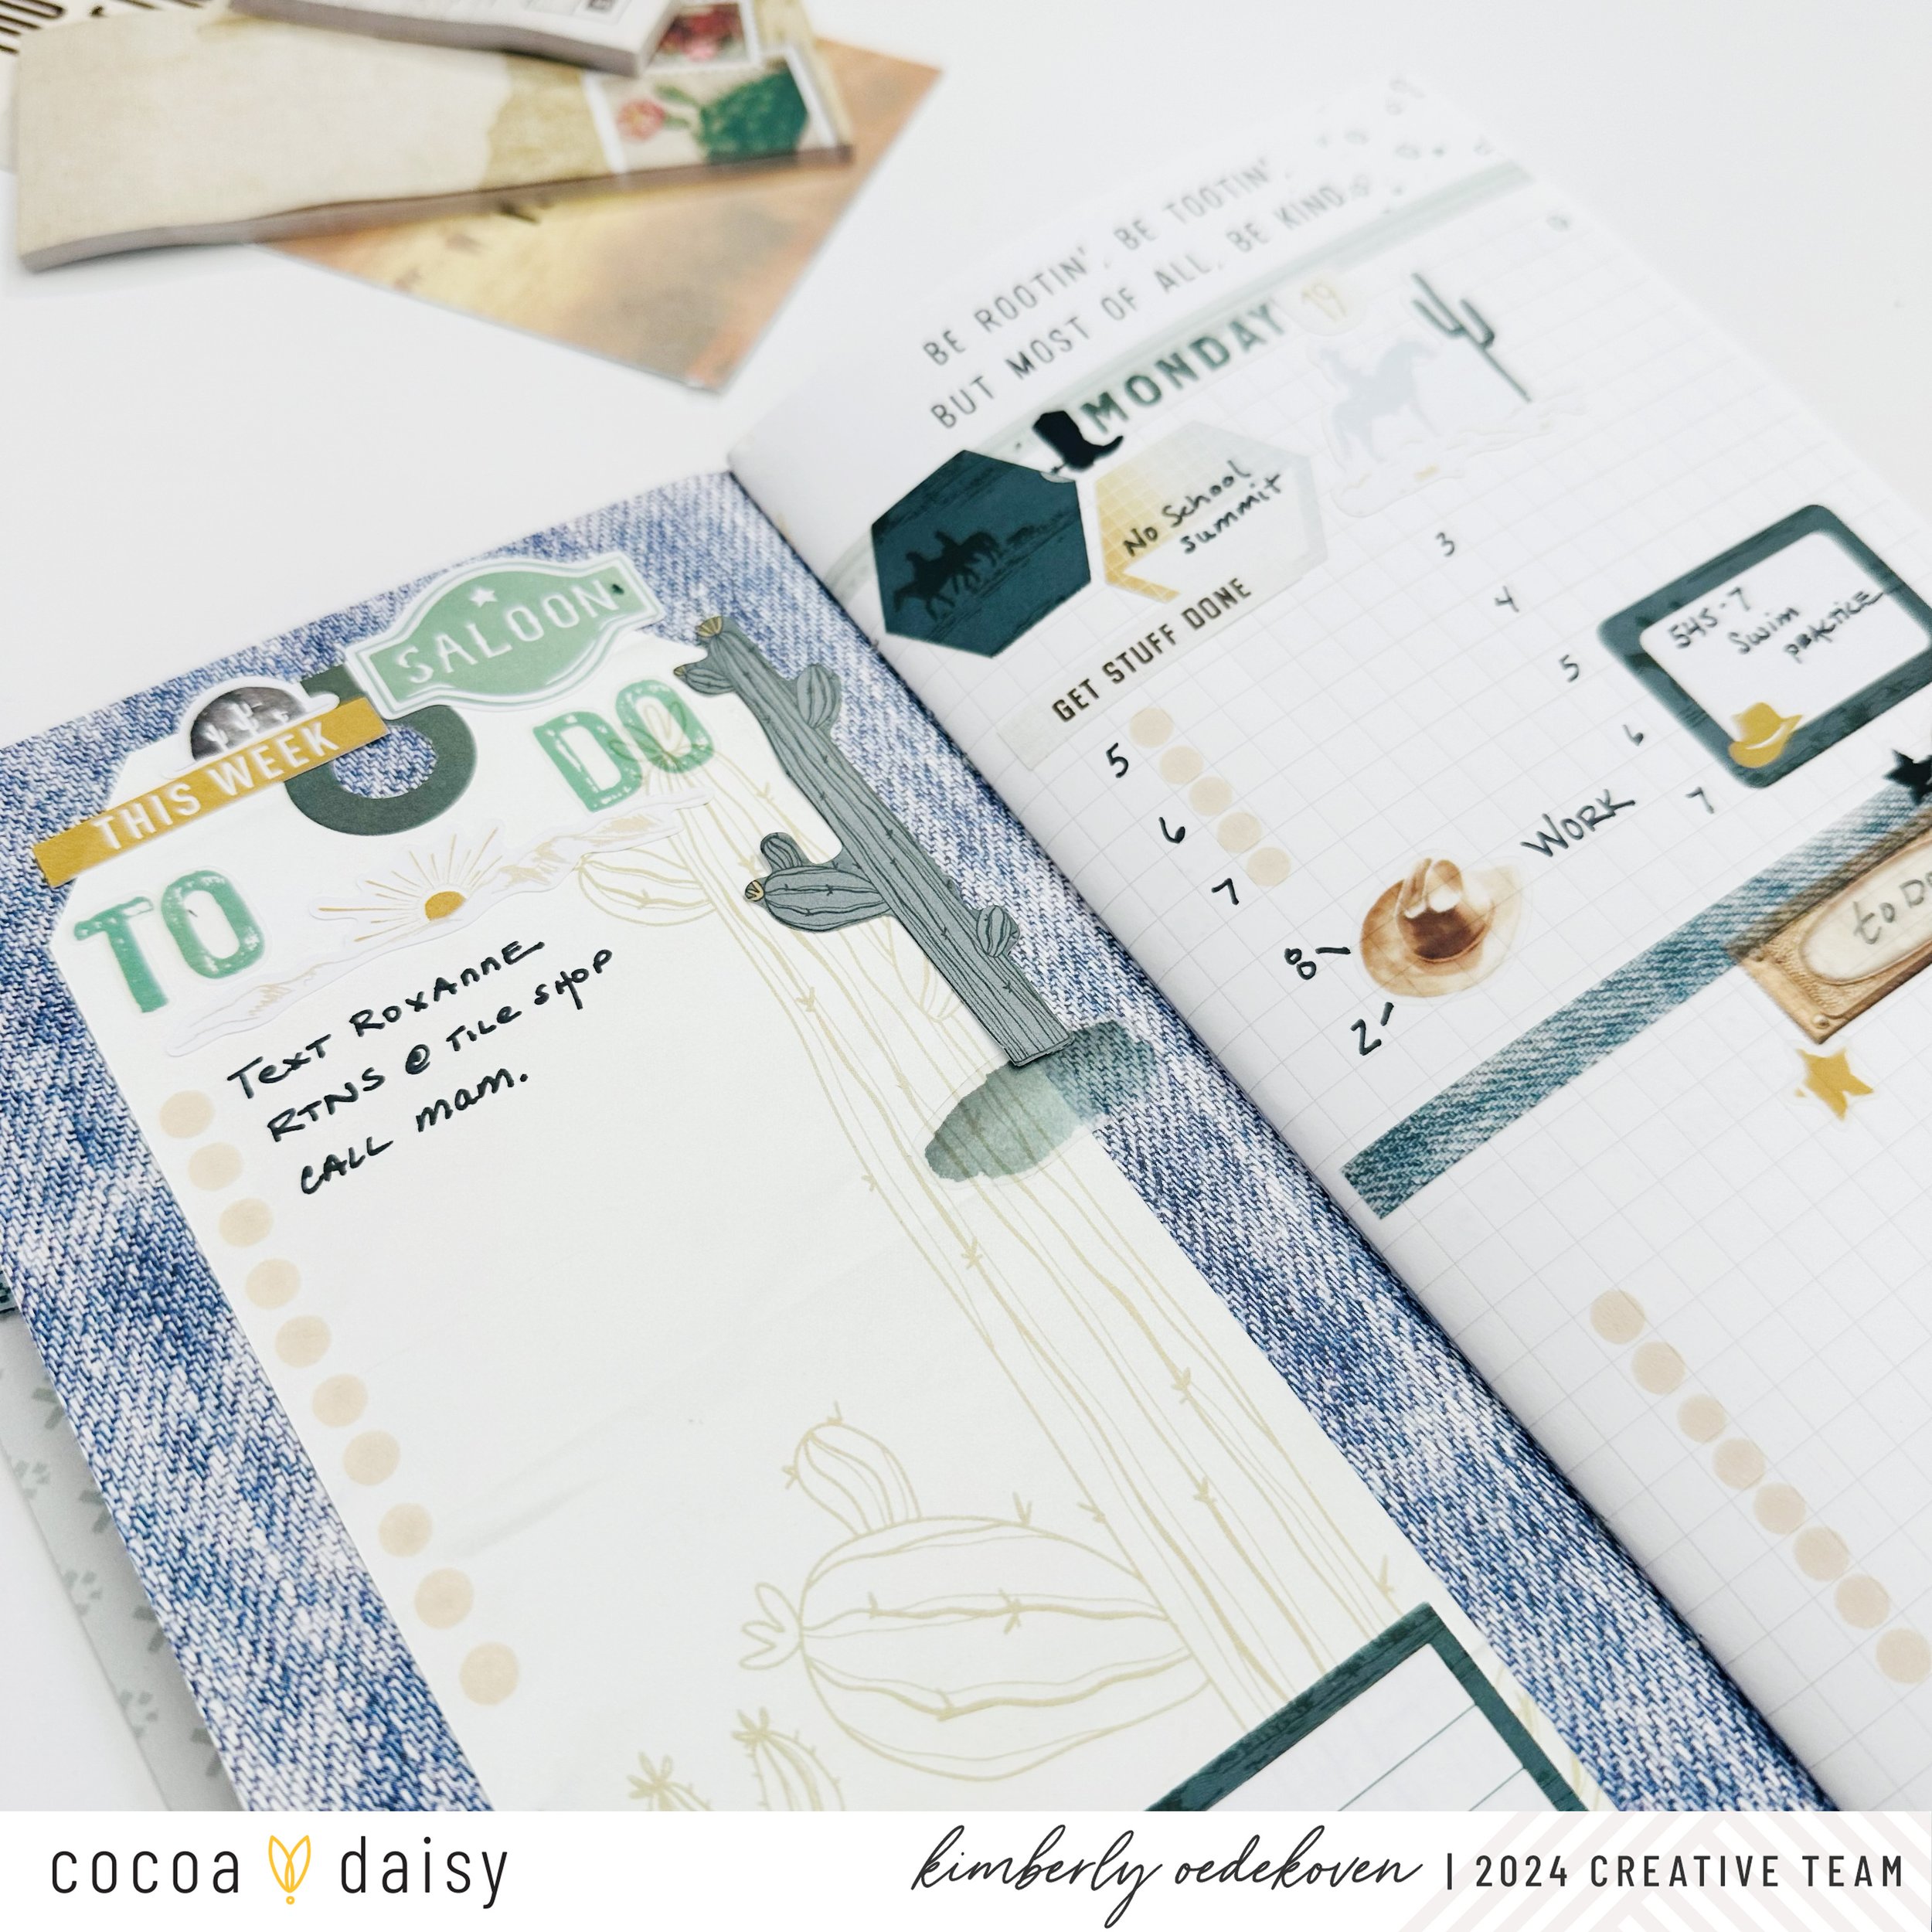
There is no way I can start a week without a weekly task list but since I combined both the standard Tn’s for the month, I needed a neutral landing place. I added a bookmark from the TNMK as a base and added my elements on top. Monday on the next page incorporated a timeblocking schedule that I've grown quite fond of. And because the preprinted elements were above the printed line, I had room to play with my schedule using the hex stickers and the clear washi strips.

I worked with two different styles of time blocking using the Journaling kit velum paper as a base for Thurdsay’s priority task list. I tend to mirror the element shapes in the time blocking for best use of my space. That means the two column time blocking square-ish shape of the top half of the page mirrors this square feature of the top.

Opposite the printed cactus on my page is a great place to put my time blocking for the day and leaves the upper part for journaling, more lists or more ephemera. I have also come to love using stickers to note a timed events duration. This time I used my yodeling cowgirl from the planner sticker kit to remind me to roundup my cowboys after play practice too!