

DIY Notebook with Planner Papers

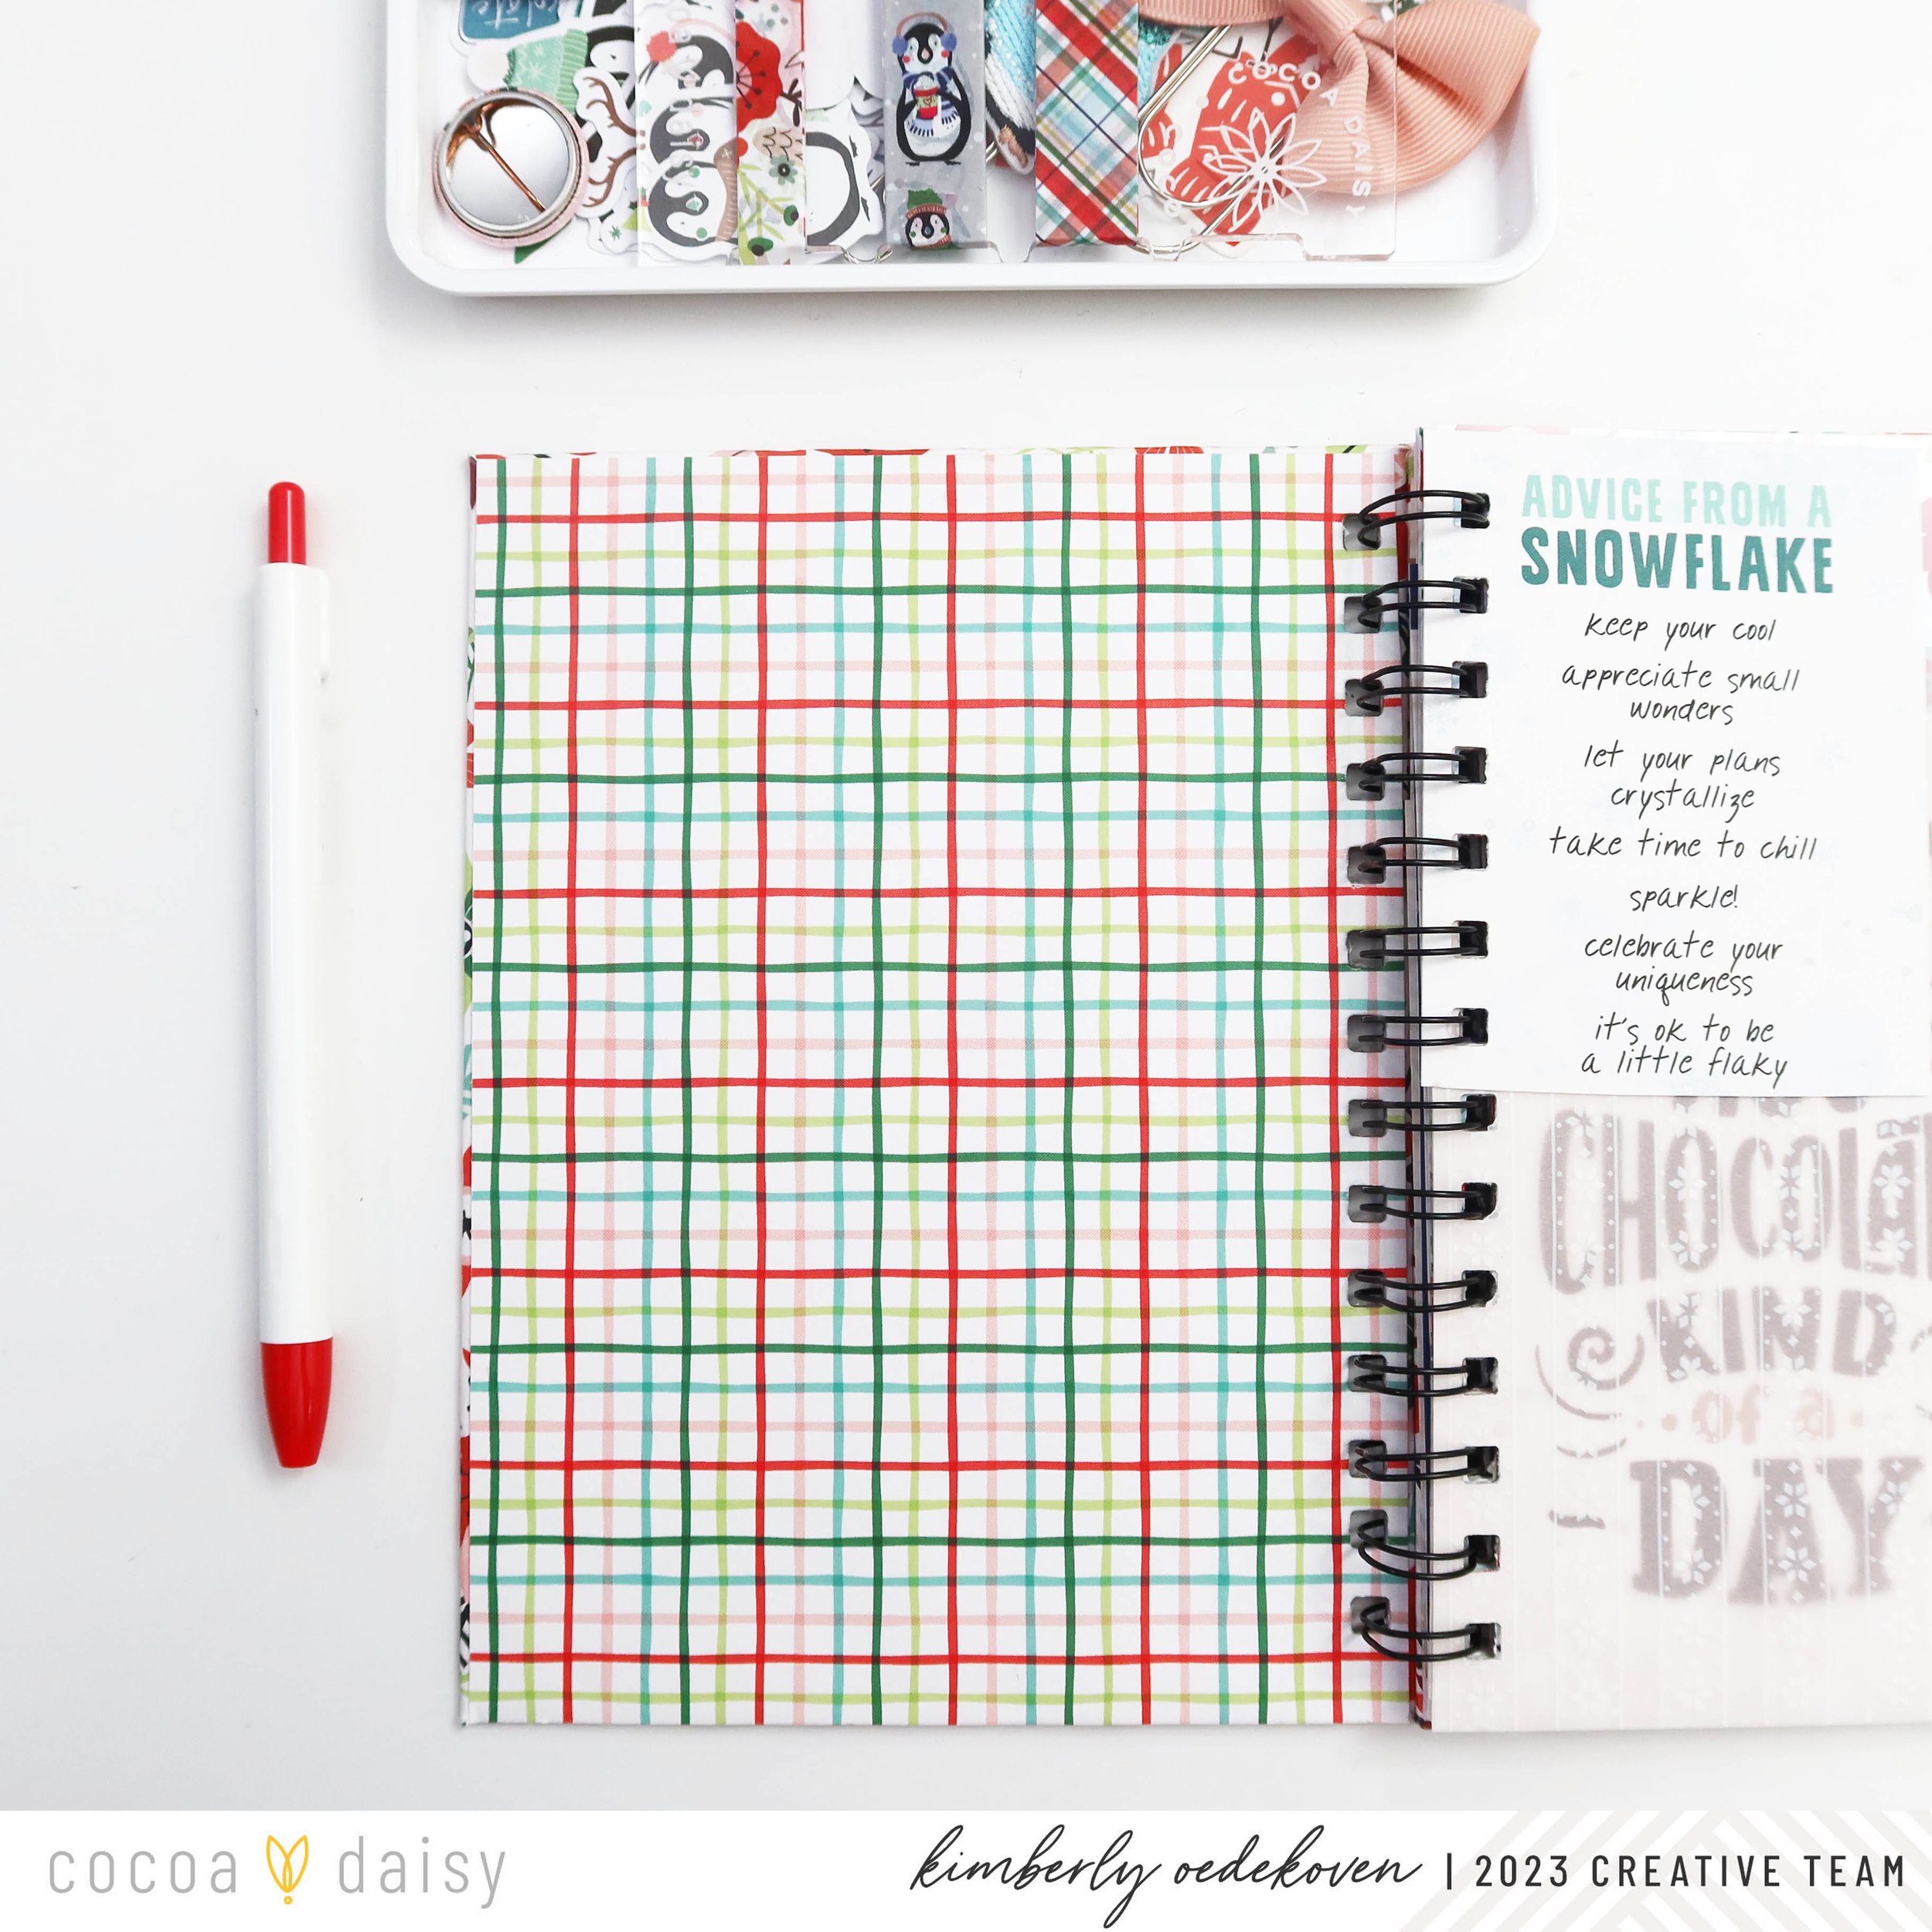
I’m drawn to the papers each and every month: Unique, whimsical, sturdy and vibrant. This month I made a notebook using 2 pieces of the Main Planner Kit papers!
Here are dimentions to cut: 1 piece of 1/8 inch chipboard into 2 - 5.5 x 7.5 rectangles, 2 - 6.5 x 8.5 paper for outside cover, and 2 inside cover pieces measureing 5.5 x7.5. Now it’s just a matter of using tacky glue with the chipboard to adhere to the back of the outside cover pieces.

Next, trim each corner off for less bulk, fold over and glue each 1/2 inch flap down. Gluing down the inside cover piece taking care to glue all the way to the edge and let it dry for a bit is the last messy bit before binding. I did decorate the inside cover with an adhesive pocket from the main planner kit; just couldn’t wait.

Then, after drying, just punched the covers. My method of choice was Wire-O binding. Punching the little bits to place my December journaling and pictures on was a great way to use up my packaging and scraps too! It’s going to be a delight to use my own album this holiday season!